Building my first raised planter

Located close to the house and features of the house (like the brick succulent planter that it is adjacent to) aesthetics was one of the primary concerns when planning out this new ground to work and plant on. Raised planters with their long and symmetric lines are more aesthetically pleasing than say a row of nursery containers. Needing more growing area, it was time to finally install a more formal looking planter.
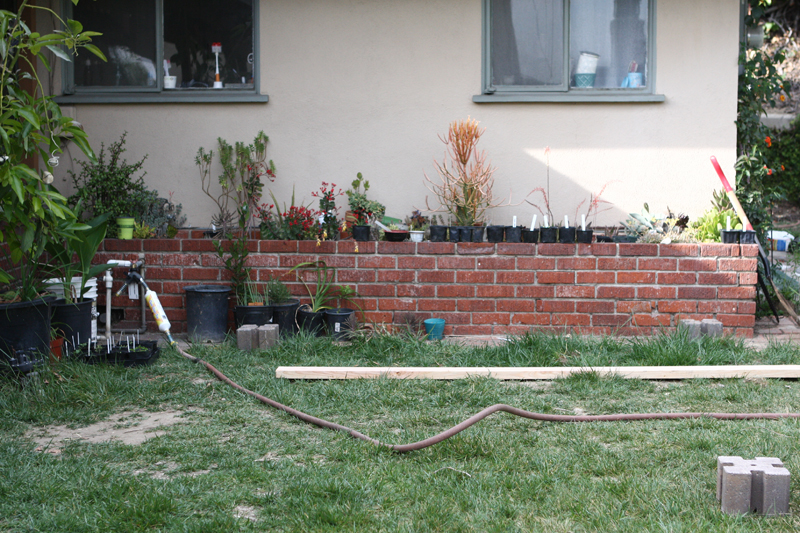 As far as converting space into growing area, the space adjacent to the brick planter has been on docket for some time. Receiving a good amount of sun throughout the day, it is a good growing area. Along the grass and next to the brick paved way was where the plants in the nursery containers sat before being moved out of the way for this project.
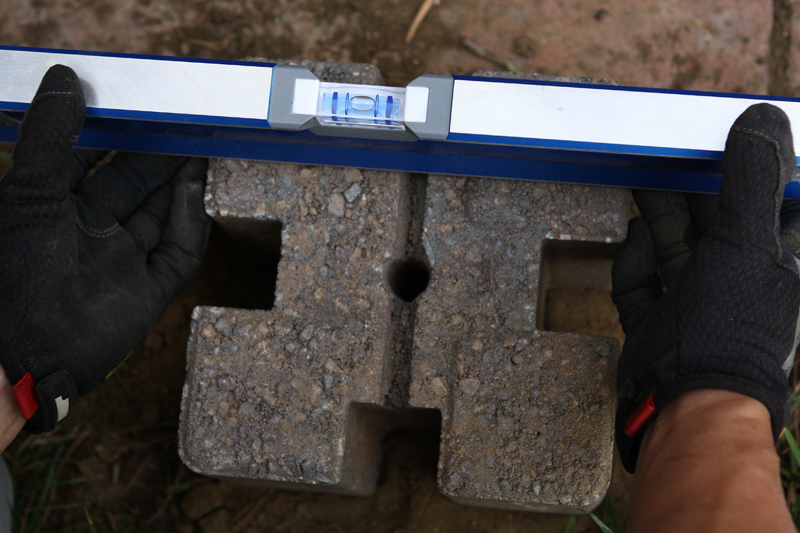
The planter wall blocks looked like they would make the installation of a raised planter easy and it turned out to be the case. There was a debate about whether to use wood posts instead to cut down on costs. When it was all said and done, I am glad that I went this route. As for the installation, the most time consuming part was getting the four blocks level and in the correct positions.
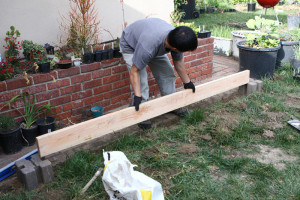
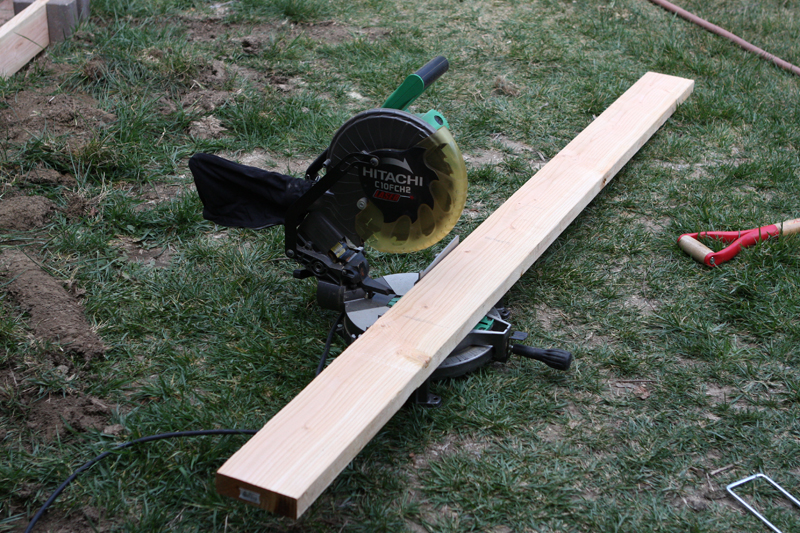 The boards run 8-feet long (96 inches). Four sections are needed to form the short sides of the planter. The board divides nicely into four 2-foot sections. This was perfect because a very wide planter is not conducive to the functions of the space. Where it sits, any wider and the planter will start to cut into the path between the patio and the back door.
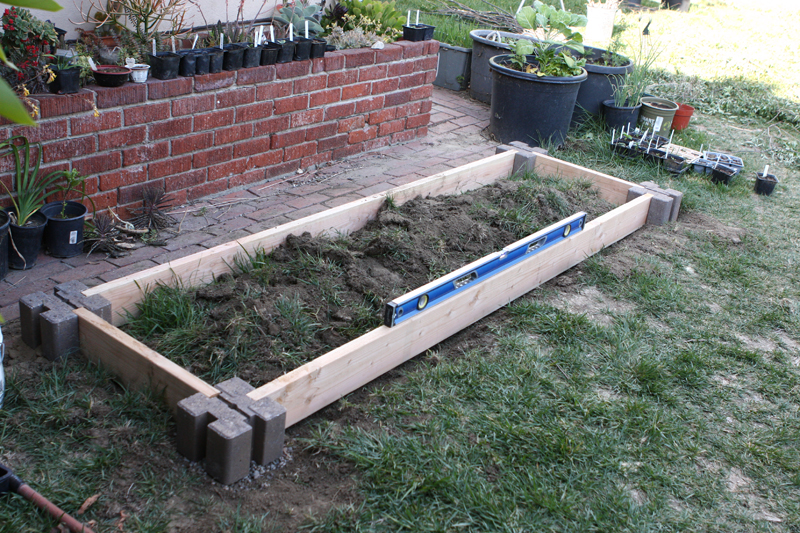 Whenever building anything, it is important to start with a foundation that is level. Once there is that, putting everything else one top happens with less effort.
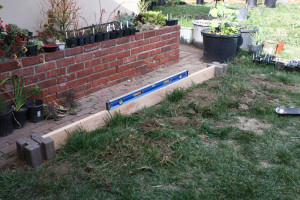
 Stacking the next planter blocks and slotting the boards was a breeze.
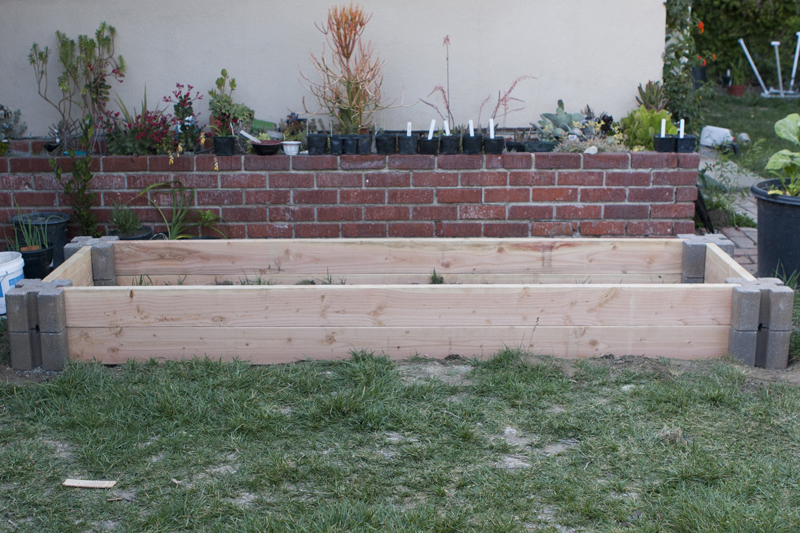
 The next 50 or so minutes was spent filling the planter. Quite literally never enough dirt. The dirt in the picture above was hauled from my brother’s place. He has quite a bit of it from creating his backyard fruit orchard. The rest of the planter was filled with native clay soil from the yard, 4 cubic feet of store purchased soil amendment (that included: finer wood mulch, oyster shell, bat guano, chicken manure, worm casting, and bone, kelp meal), 1 cubic feet of steer manure, 1 cubic feet of peat moss, 1 cubic feet of homemade compost, and 1 cup of Azomite (trace minerals).
With the raised planter completed, the seedlings in the picture probably cannot wait to call it home.
Additional notes:
i. The boards are 2 inch thick untreated Douglas Fir. I have never worked with it in this manner so I wonder how long these boards will last.
ii. With the concrete blocks not flushed against the boards, I was concerned about toes getting stubbed. Redwood fence boards were purchased and my plan was to run those flush with the blocks. When done this creates additional growing space. Then the plan was to grow companion plants that ward off pests. That plan has been nixed for the time being out of concern that the dirt will rot the lower boards more quickly.
iii.
| Material | ~Cost | Quantity | ~Total |
| planter block | 2.87 | 8 | $23 |
| douglas fir lumber (2″x6″x8′) | 4.75 | 5 | $24 |
| garden soil 3 cubic feet | 8.47 | 1 | $9 |
| peat moss 1 cubic feet | 5.00 | 1 | $5 |
| steer manure 2 cubic feet | 1.00 | 1 | $1 |
| $61 |
Meanwhile earlier in the day…
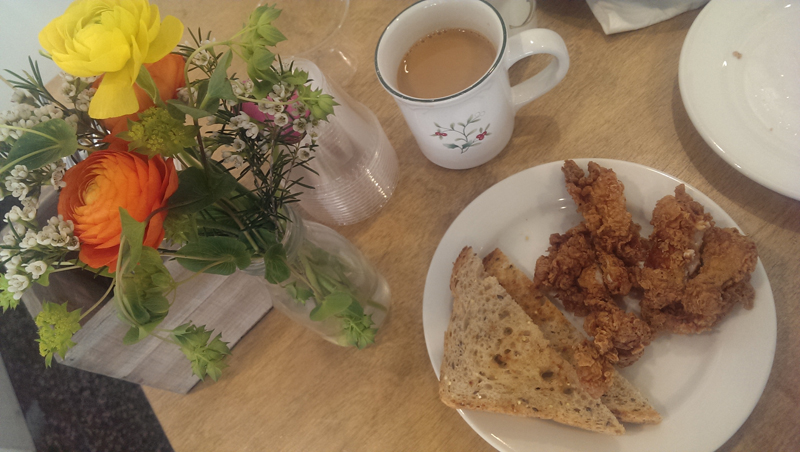
We went to have breakfast in the Los Angeles Flower District. The fresh flowers are a nice touch. This was at Poppy + Rose and my second time. The last time, I saw fried chicken on someone’s plate and knew I had to have it. They have a chicken and waffle plate but I am not really a waffle kind of guy. Turns out that fried chicken and toast can be ordered as sides and so this was my breakfast.
After breakfast we naturally went on a treasure hunt for plants and succulents.
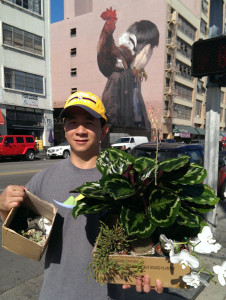
Pictured is me with my haul and the “Mr. Rooster” mural behind. The trip out this way was unplanned. The rest of the day had been promised away to the raised planter project so the enjoyment of the morning’s treasures will have to wait a couple of days.
With my brother for the second half of the day, we borrowed a truck and proceeded to the home improvement store to do some damage.
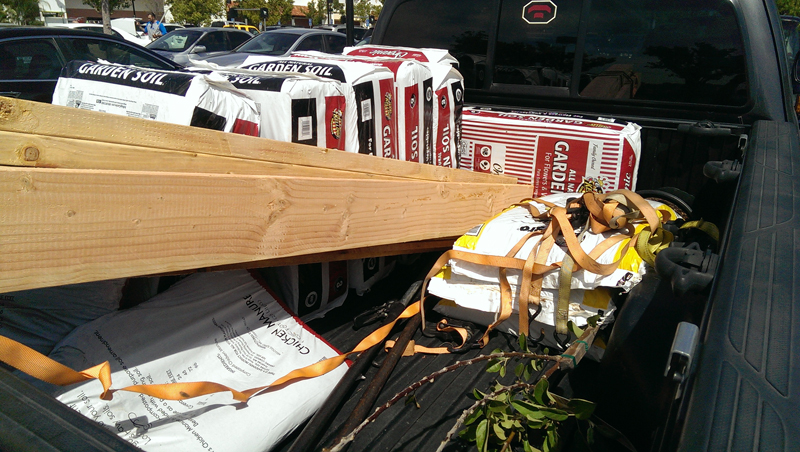 In this truck bed are: material for a raised planter, garden soil and steer manure for my brother’s developing fruit orchard, chicken manure for my mom’s garden, and a Fuji apple tree for my food forest.
An apple tree is something that I have been wanting for sometime now. There are so many newer apple varieties available to plant I decided to stay with the variety that I have always liked. Another reason for wanting an apple tree is that the wood is something I can harvest for use in smoking meats.
 We ended up having to visit three home improvement stores. It turns out what even though they are the same chain, they may not necessarily carry the same stock.
